Camcevi Dosage
Generic name: LEUPROLIDE MESYLATE 42mg in 0.37g
Dosage form: injection, emulsion
Drug classes: Gonadotropin releasing hormones, Hormones / antineoplastics
Medically reviewed by Drugs.com. Last updated on May 9, 2025.
Recommended Dosage
The recommended dose of CAMCEVI is 42 mg administered subcutaneously once every 6 months.
Preparation and Administration
CAMCEVI must be administered by a healthcare provider.
Important:Read the instructions completely before you administer Camcevi for the first time. Do NOT substitute any of the components from the kit for administration.
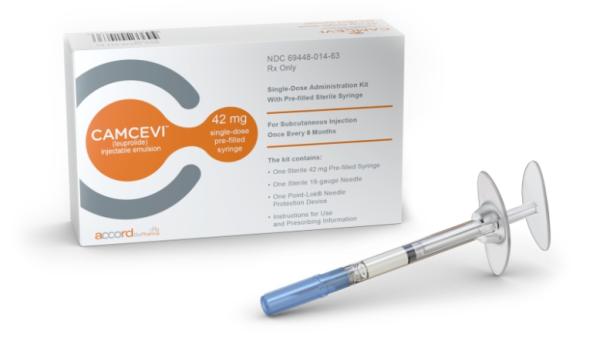
CAMCEVI is packaged in a blister in the kit. Check to make sure the kit contains:
- One sterile, single-dose pre-filled syringe with plunger rod and backstop
- One sterile 18-gauge SurGuard®3 safety needle, 5/8-inch needle
- Prescribing Information
Follow the detailed instructions to ensure correct preparation of CAMCEVI prior to administration:
| STEP 1 Remove CAMCEVI kit from refrigerator. Keep the contents in their original, sealed blister carton and allow to sit at room temperature for 30 minutes before use. Return to refrigerator after 30 minutes if not used. |
||
 |
STEP 2 On a clean, dry surface, open carton and remove the contents. Examine all contents of the package. Do not use if any component is damaged. Check the expiration date on the syringe. Do not use if the expiration date has passed. The use of gloves is recommended during syringe assembly and administration. |
|
 |
STEP 3 Remove pre-filled syringe (A) from the blister tray and open the safety needle (B) package by peeling back the paper tab. The safety needle (B) package is located beneath the blister tray. Visually inspect the syringe for particulate matter prior to administration. The emulsion should appear off-white to pale yellow, viscous, and opalescent. Do not use if particulate matter is observed prior to administration. |
|
 |
STEP 4
|
|
 |
STEP 5 Choose an injection site on the upper- or mid-abdominal area with sufficient soft or loose subcutaneous tissue that has not recently been used. Clean the injection site with an alcohol swab. Do NOTinject in areas with brawny or fibrous subcutaneous tissue or locations that can be rubbed or compressed (i.e., with a belt or clothing waistband). In addition, avoid applying heat directly to the site of Camcevi injection. |
|
 |
STEP 6 (1) Move the safety sheath away from the needle and towards the syringe and (2) remove the clear needle cover immediately before injection. Note:Should the needle hub appear to be damaged, or leak, the product should NOT be used. The damaged needle should NOT be replaced and the product should NOT be injected. In the event of damage to the needle hub, use a new replacement CAMCEVI kit. |
|
 |
STEP 7 Use standard aseptic technique when performing the injection. Grab and bunch the skin around the injection site with one hand. Insert the needle at a 90° angle to the skin surface, and then release the bunched skin. |
|
| STEP 8 Inject the full contents of the syringe with a slow and steady push on the plunger, and then withdraw the needle at the same 90° angle used for insertion. |
||
 |
STEP 9 Immediately following the withdrawal of the needle, activate the safety sheath using a finger/thumb or flat surface and push until it completely covers the needle tip and locks into place. An audible and tactile “click” verifies a locked position. Check to confirm the safety sheath is fully engaged. |
|
| STEP 10 After use, discard all components safely in a suitable sharps container. Dispose of the syringe and contaminated products according to local regulations/procedures. |
||

Frequently asked questions
- Will I get my period while on Lupron?
- What does Lupron do for IVF?
- Are Lupron Depot and Eligard the same drug?
- Can you get pregnant on Lupron Depot?
- Is Firmagon (degarelix) the same as Lupron Depot?
More about Camcevi (leuprolide)
- Check interactions
- Compare alternatives
- Drug images
- Side effects
- During pregnancy
- FDA approval history
- Drug class: gonadotropin releasing hormones
Patient resources
Other brands
Eligard, Lupron Depot, Fensolvi, Viadur
Professional resources
Other brands
Eligard, Lupron Depot, Lupron Depot-PED, Lupron Depot-Gyn, ... +2 more
Related treatment guides
See also:
Further information
Always consult your healthcare provider to ensure the information displayed on this page applies to your personal circumstances.